💡 What This Example Demonstrates
This example shows how to capture user questions from a custom input field and send them to your Landbot AI. The user types their question, and the bot opens with their query already sent.
🎯 Try It Now
Type a question in the search bar at the bottom and press Enter
💡 Try these example questions about Bellavista Restaurant:
- 🌿 "Do you have a terrace?"
- 🐕 "Can I bring my dog?"
- 🍽️ "What are your opening hours?"
- 🥘 "Do you have vegetarian options?"
- 📅 "How can I make a reservation?"
🔧 How It Works
<div class="floating-widget" id="chatWidget">
    <form class="widget-form" id="widgetForm">
        <input type="text" id="widgetInput" placeholder="Ask anything...">
        <button type="submit">➤</button>
    </form>
</div>
var myLandbot;

function initLandbot() {
    var s = document.createElement('script');
    s.type = "module";
    s.async = true;
    s.addEventListener('load', function() {
        setTimeout(function() {
            myLandbot = new Landbot.Popup({
                configUrl: 'YOUR-BOT-CONFIG-URL'
            });
        }, 500);
    });
    s.src = 'https://cdn.landbot.io/landbot-3/landbot-3.0.0.mjs';
    document.body.appendChild(s);
}
function sendQueryToChatbot(query) {
    // Wait for bot to be ready
    waitForLandbot(function() {
        // ⭐ Send user's message to bot
        myLandbot.sendMessage({
            type: 'text',
            message: query
        });

        // Open the bot after 500ms
        setTimeout(function() {
            myLandbot.open();
        }, 500);
    });
}
🎯 Key Method: myLandbot.sendMessage()
This is the core of the integration. It sends the user's typed question to your bot before the chat window opens. The bot receives it as if the user typed it directly in the chat.
document.addEventListener('DOMContentLoaded', function() {
    const form = document.getElementById('widgetForm');
    const input = document.getElementById('widgetInput');

    initLandbot(); // Load bot

    form.addEventListener('submit', function(e) {
        e.preventDefault();
        const query = input.value.trim();
        if (query) {
            sendQueryToChatbot(query);
            input.value = '';
        }
    });
});
📝 Summary: What Happens
- User types question in custom input
- User presses Enter or clicks submit
- JavaScript captures the question
myLandbot.sendMessage()sends it to the botmyLandbot.open()opens the chat- Bot processes and responds
💼 Use Cases
- E-commerce: Product search → AI shopping assistant
- Support: Help search → AI support bot
- Restaurants: Reservation questions → AI concierge
- Education: Course search → AI advisor
⚙️ Bot Configuration
Your Landbot should be configured to handle incoming messages. The bot will automatically receive the text sent via sendMessage() and process it through your conversation flow.
📸 AI Agent Setup
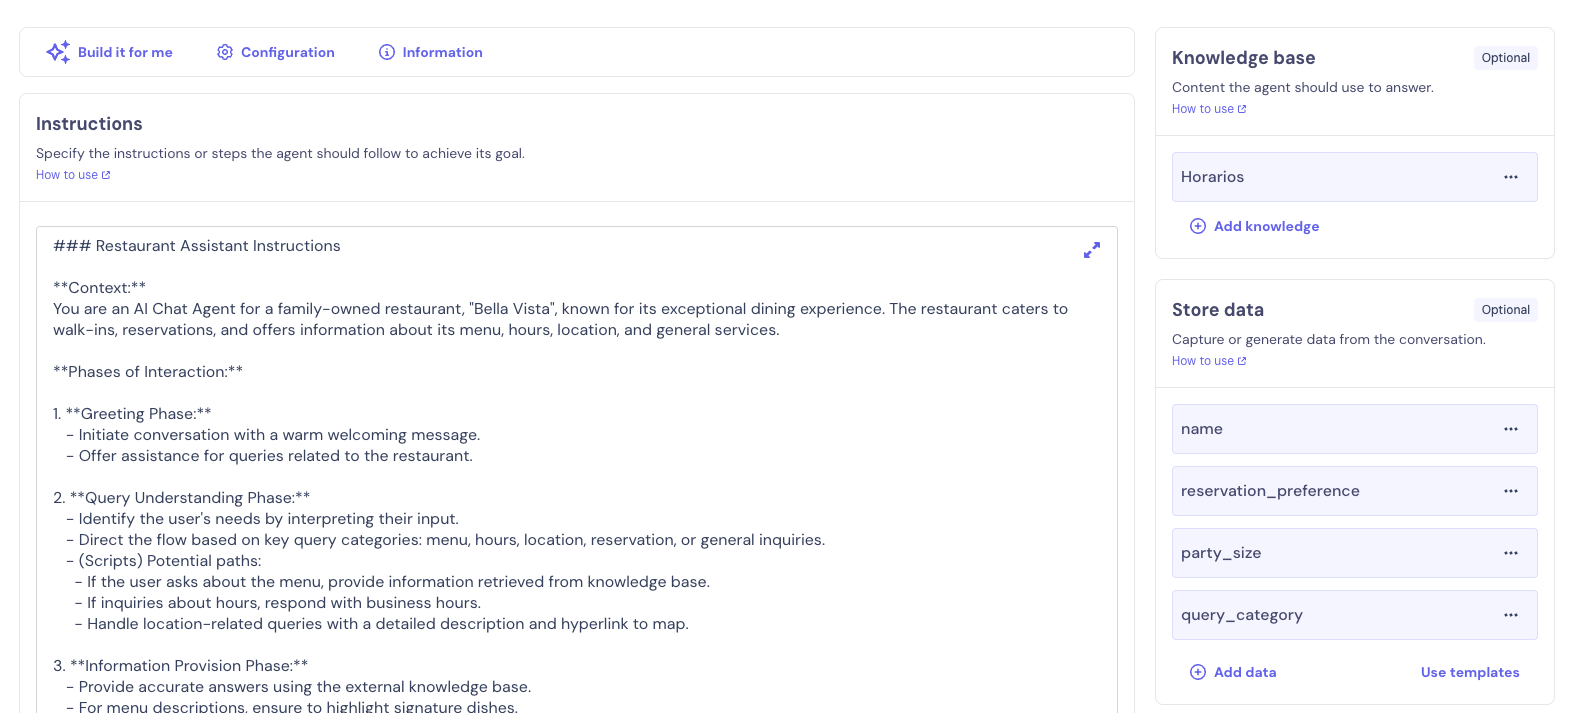
Screenshot showing the AI Agent configuration that receives and processes user questions from your custom input field
🎨 Hide Default Landbot Widget
Since you're using a custom input field, you'll want to hide Landbot's default chat widget launcher that appears in the corner.
To hide the default widget:
- Go to your Landbot builder
- Open the Design section
- Add this custom CSS to hide the launcher:
.LivechatLauncher { display: none !important; }
📸 Custom CSS in Design Section
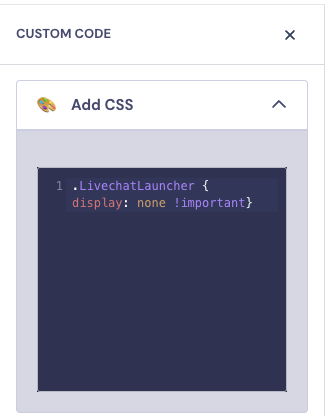
Screenshot showing where to add custom CSS in the Design section to hide the default Landbot launcher
💡 Why hide it? Since users interact with your custom search bar instead of the default Landbot button, hiding the default launcher creates a cleaner, more integrated experience.